IoT Remote Desktop (RDP) Access via xrdp from Windows
IoT Remote Desktop Access using xrdp is very useful if you want to access the GUI desktop of your IoT device or Raspberry Pi remotely from Windows or MacOS or even from a Linux machine.
What is RDP
Remote Desktop Protocol(RDP) is a network protocol developed by Microsoft and is widely used by users to remotely access and interact with the graphical user interface of a remote machine such as Windows Server, Mac, or Linux machine including Raspberry Pi.
RDP follows the client-server model, where an RDP client is installed on a local machine, and an RDP server is installed on the remote server or IoT device.
What is xrdp
xrdp is an open-source software package that allows for remote desktop access to Linux-based operating systems, including IoT devices.
xrdp stands for "X Remote Desktop Protocol" and is a protocol that enables users to connect to a Linux-based desktop environment from a remote device, such as a Windows, macOS, or another Linux machine.
xrdp uses the Remote Desktop Protocol (RDP) developed by Microsoft.
xrdp is often used as an alternative to other remote desktop solutions, such as Virtual Network Computing (VNC), as it provides a more seamless and integrated experience for connecting to Linux-based systems.
It allows users to access their Linux desktop environment remotely, run applications, edit files, and perform other tasks using a graphical interface, making it convenient for remote administration, support, and other use cases.
How to Remote Access IoT Destkop using xrdp
In this section, we'll discuss how to setup your IoT device or IoT device for remote desktop access using xrdp. We'll also show you how to remotely connect to your IoT device and access your IoT GUI desktop via xrdp.
Step 1: Setting up a Desktop environment on IoT device
Before you can remotely connect to your IoT device via xrdp, you need to make sure your IoT device is set up and running.
This includes installing an operating system (such as Ubuntu) and connecting your IoT device to a display, keyboard, and mouse.
Additionally, make sure your IoT device is connected to the internet via an Ethernet cable or Wi-Fi.
For this tutorial we will assume that your IoT device doesn't have a GUI desktop environment installed. We will install XFCE desktop environment, to have the actual desktop accessible on the Pi.
If your IoT or Linux device already has a desktop environment (like say, Gnome) installed, you can skip the above step.
Next, we will install xrdp server to access this GUI desktop environment from a different machine.
Step 2: Install and setup xrdp on IoT device
Following the below instructions to install xrdp on your IoT device: 1. Open a terminal window. 2. Update the package list on your system by running the following command:
3. Install xrdp by running the following command: 4. Once the installation is complete, start the xrdp service by running the following command: 5. Optionally, you can enable the xrdp service to start automatically at boot by running the following command:- It's important to configure your firewall settings in your IoT device to allow incoming RDP traffic to your Pi on TCP port 3389 using the following command:
Now you can access your IoT device's GUI desktop via xrdp from your Windows or Mac PC in the same local network. You can jump to Step #4 if you want to access IoT device remote desktop using an RDP client from a local network.
Note
But our goal is to connect to IoT device's GUI desktop remotely over the internet. For this, we'll use the SocketXP IoT device Remote Access solution as shown in the next step.
Step 3: Install SocketXP IoT Remote Access Agent
Install a simple, secure and lightweight SocketXP IoT Agent on your IoT device (or Rasperry Pi). The SocketXP agent will securely connect to the SocketXP IoT Cloud Gateway via an SSL/TLS tunnel.
We need to setup SocketXP Agent to run in two different places:
- Raspberry Pi - in
IoT Master Mode (Default Mode) - Laptop or PC - in
IoT Slave Mode
Follow the instructions below to install SocketXP IoT Agent on your IoT or Raspberry Pi device. Also follow the same instructions to install SocketXP IoT Agent on your access device (such as your laptop, or PC).
Step 3.1: Download and Install
Download and install SocketXP IoT agent on your IoT or Raspberry Pi device.
Step 3.2: Get your Authentication Token
Sign up at SocketXP Web Portal and get your authentication token.
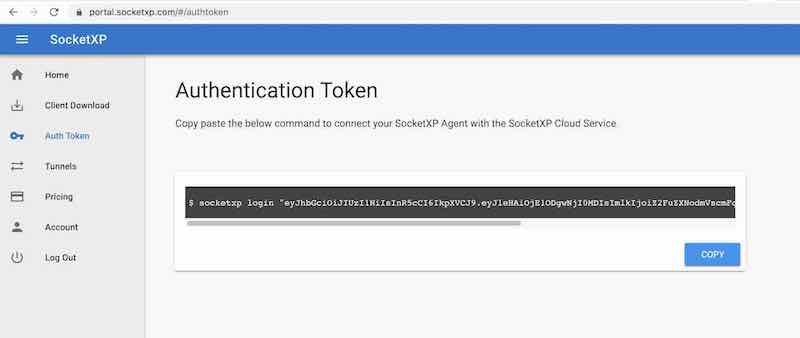
Use the following command to login to the SocketXP IoT Cloud Gateway using the auth token.
$ socketxp login <your-auth-token-goes-here> --iot-device-name "sensor12345" --iot-device-group "temp-sensor"
Step 3.3: Setup SocketXP Agent on your IoT Device
To make SocketXP agent to run in IoT Master Mode (which is the default mode of SocketXP agent) use the below command.
$ socketxp  connect tcp://localhost:3389

Connected to SocketXP Cloud Gateway.
Access the TCP service securely using the SocketXP agent in IoT Slave Mode.
where localhost port 3389 is the RDP server port, on which xrdp server is listening for connections from a RDP client such as the Microsoft Remote Desktop Connection(RDC) in Windows.
Note: You can connect to the IoT or Linux device GUI Desktop from a MacBook using the Microsoft Remote Desktop Connection app installed on a MacBook. The procedure is the same.
Next, to access the IoT device device from your Windows laptop or PC, install SocketXP Agent for Windows and run the below command:
$ ./socketxp.exe connect tcp://localhost:3000 --iot-slave --peer-device-id "2233-abcdefgh-2342abc" --peer-device-port 3389 --authtoken <auth token>
Listening for TCP connections at:
Local URL -> tcp://localhost:3000
You shall find the device ID of your IoT device from the SocketXP Portal page in the IoT Devices section. For our illustration, we assume 2233-abcdefgh-2342abc is the device ID of your IoT device.
Step 4: Connect to IoT device remote desktop using RDP Client
With xrdp up and running on your IoT device, you can now connect to it using an RDP client such as Remote Dekstop Connection (RDC) in Windows or Remmina in Linux.
If you are using Linux, use the following command to install Remmina on your Ubuntu Linux based access device such as your laptop:
Step 4.1: Connecting from Local Network
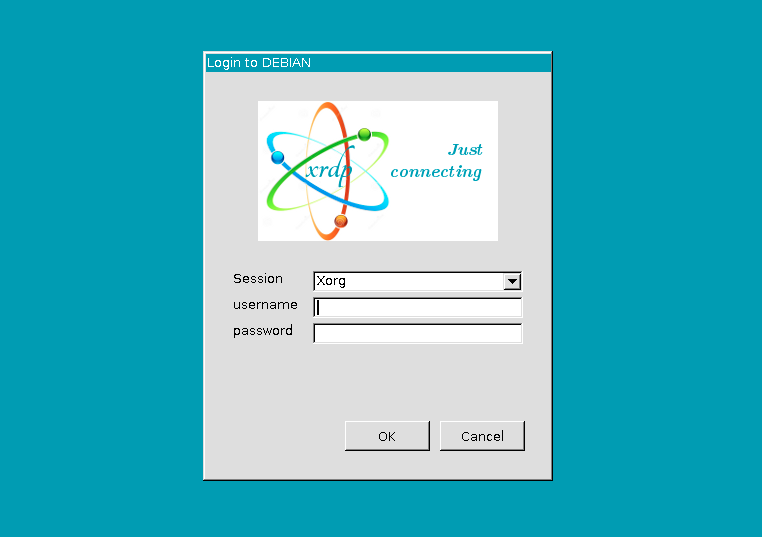
To access the remote desktop of your IoT device connected to your local network, simply open the RDC client, enter the IP address or hostname of your IoT device, and click "Connect". Enter your IoT device's username and password when prompted.
If you are using Linux, you can use the Remmina Remote Desktop Client, which is a popular RDP client for Linux. Open Remmina, click on "New" to create a new connection, select "RDP" as the protocol, and enter your IoT device's IP address or hostname, username, and password. Click "Connect" to establish the remote desktop connection.
Step 4.2: Connecting from Outside Network Over the Internet
If you want to remotely access IoT device desktop over the internet using SocketXP IoT device Remote Access solution, then enter localhost or 127.0.0.1 as the IP address and port 3000 on the RDC client.
This is the IP address and port on which SocketXP agent configured to run in iot-slave mode, in Step#3 above, is listening for local proxy connections.
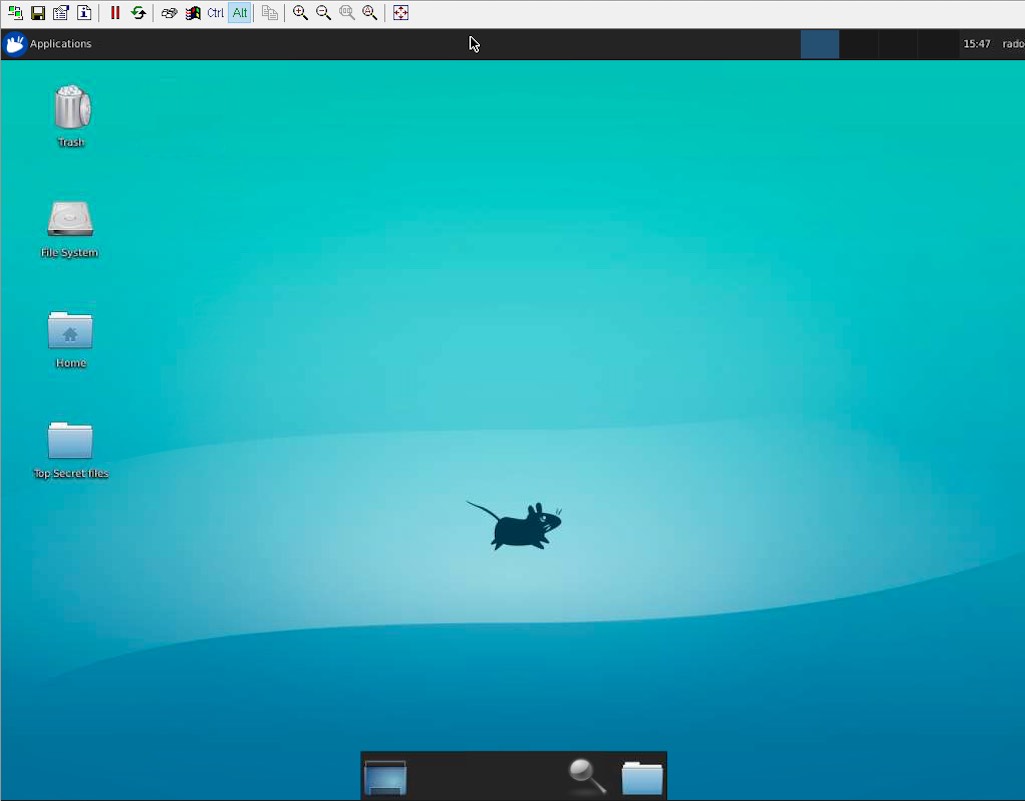
Once connected, you will be able to see and interact with your IoT device's desktop environment, just as if you were physically sitting in front of it. You can run applications, edit files, and perform other tasks remotely.